
") Homemade wind chimes made with sticks painted in a rainbow of colours add a splash of colour to any backyard or patio! A fun nature craft for kids to make for their own yard or to give as a gift to someone special!
Homemade wind chimes made with sticks painted in a rainbow of colours add a splash of colour to any backyard or patio! A fun nature craft for kids to make for their own yard or to give as a gift to someone special!
My list of Spring Craft Ideas is as long as my arm! Making homemade wind chimes has been up there at the top of that list. Well, today, while we were out walking in the gorgeous spring weather, the hooligans just happened to start collecting sticks. You know what’s coming, right? You got it! Homemade wind chimes! And not just any old, homemade wind chimes! Homemade RAINBOW wind chimes!

Until recently, I hadn’t given much thought to how we would make our wind chimes, and then I came upon this fabulous, colourful, made by Carla over at, and it all came together for me.
What you’ll need to make your rainbow wind chimes:
For your convenience, I’ve included affiliate links to some of the products used in this post
How to make homemade wind chimes:
We started by snapping our sticks into lengths of about 8-10 inches.
Next, we peeled the bark off the sticks. This is actually quite fun, and older kids might really get into this part. The hooligans are a bit young, and found it tedious after a few minutes, so I ended up doing this part mostly by myself.
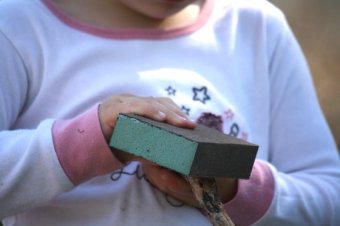 Then, everyone got a sanding block or a piece of sandpaper, and gave their sticks a quick once-over to remove any remaining bits of bark. The hooligans love sanding wood. For a fun activity, I sometimes set out a few pieces of scrap wood and some sanding blocks for the hooligans to have a go at. They think it’s great. They’re always impressed by how satiny the wood feels after giving it a good scrubbing.
The sticks dried quickly in the sun, and then I brushed on a coat of craft varnish. This step is important for a couple of reasons. Firstly: because these sticks will be hanging in the yard, the varnish will offer some protection from the elements, and secondly: a great craft looks even better with a coat of varnish.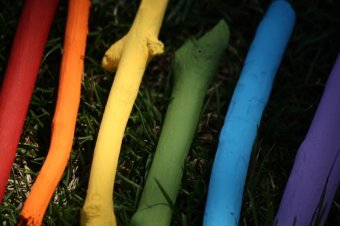 From paper mache to painted rocks, a coat of varnish will take your craft from “ok” to “WOWZA” in a matter of seconds. It adds some shine and makes your colours really “pop”.
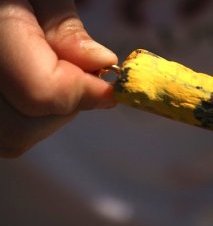
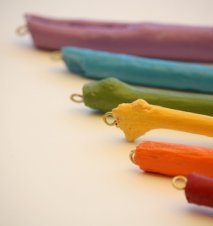
When the sealer was dry, we screwed tiny screw-eyes into one end of each stick. I started each one, and the hooligans finished twisting them in. Depending on how hard your wood is, your child may require very little or a lot of assistance with this part.
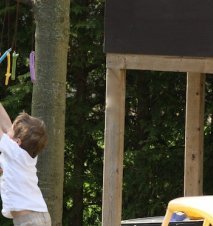
I then tied a long length of acrylic yarn to each hook, and took the sticks back to the oak tree beside our playhouse, and tied them to the lowest branch.
Ready?
Ooooo!
Can you hear me doing my happy dance?
Aren’t they awesome?
or when the wind blows…
…GORGEOUS!
See? Proof once again that you don’t have to spend a lot of money or get too fancy when it comes to crafting.
If this is your first visit to Happy Hooligans, I’d love for you to pop over and. I update my page daily with easy and affordable arts, crafts and play ideas.

YOU MIGHT ALSO LIKE

Share this Post
latest post
-
 Kite Festival Houston August 5, 2018
 -
Kite Festival Houston August 5, 2018
-
 Kite birds California August 5, 2018
 -
 Afghanistan Kite running August 2, 2018
 -
 Kite flying Lessons July 30, 2018
 -
 Bali Kite Festival July 27, 2018
 -
 Rosebud Kite Festival July 24, 2018
 -
-
 Southsea Kite Festival July 18, 2018